Fantastic Info About How To Draw A Pot Leaf


How To Draw A Pot Leaf - Youtube

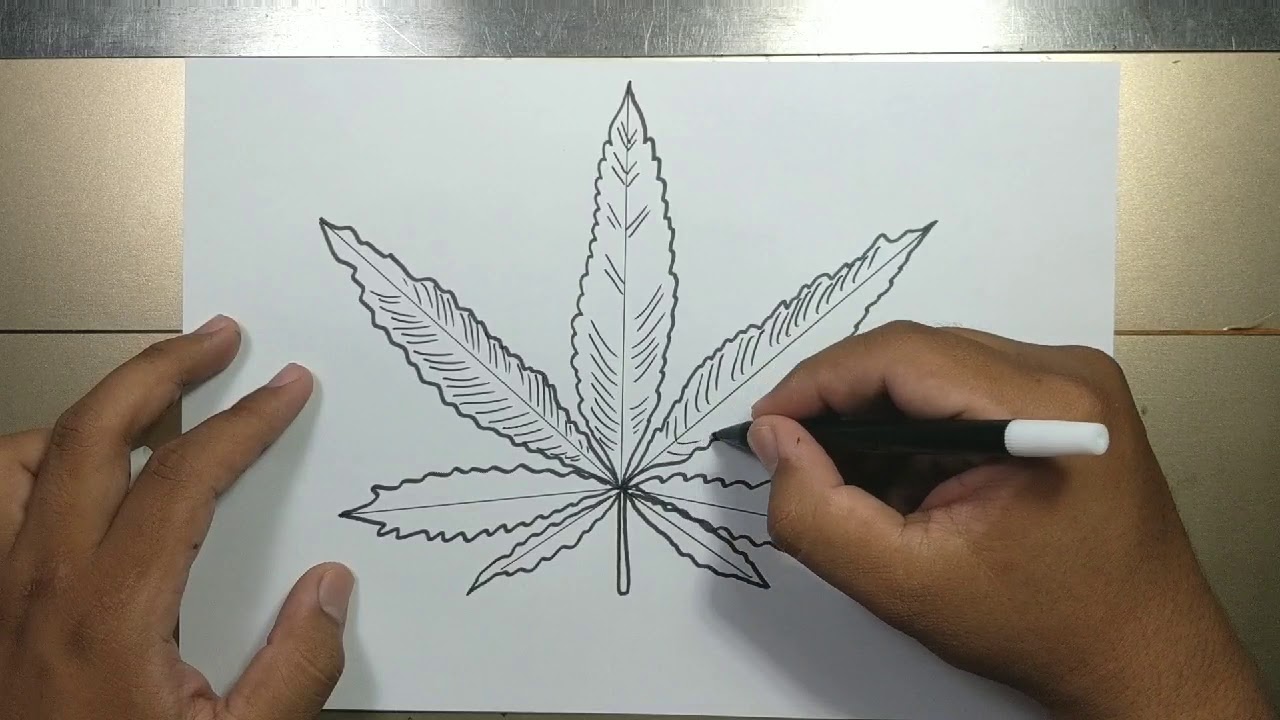
How To Draw A Pot Leaf

Pot Leaf Illustrations, Royalty-free Vector Graphics & Clip Art - Istock

How To Draw A Pot Leaf, Step By Step, Drawing Guide, Dawn - Dragoart

Free Weed Plant Drawing, Download Drawing Png Images, Cliparts On Clipart Library
Then, you sketch the leaves over.
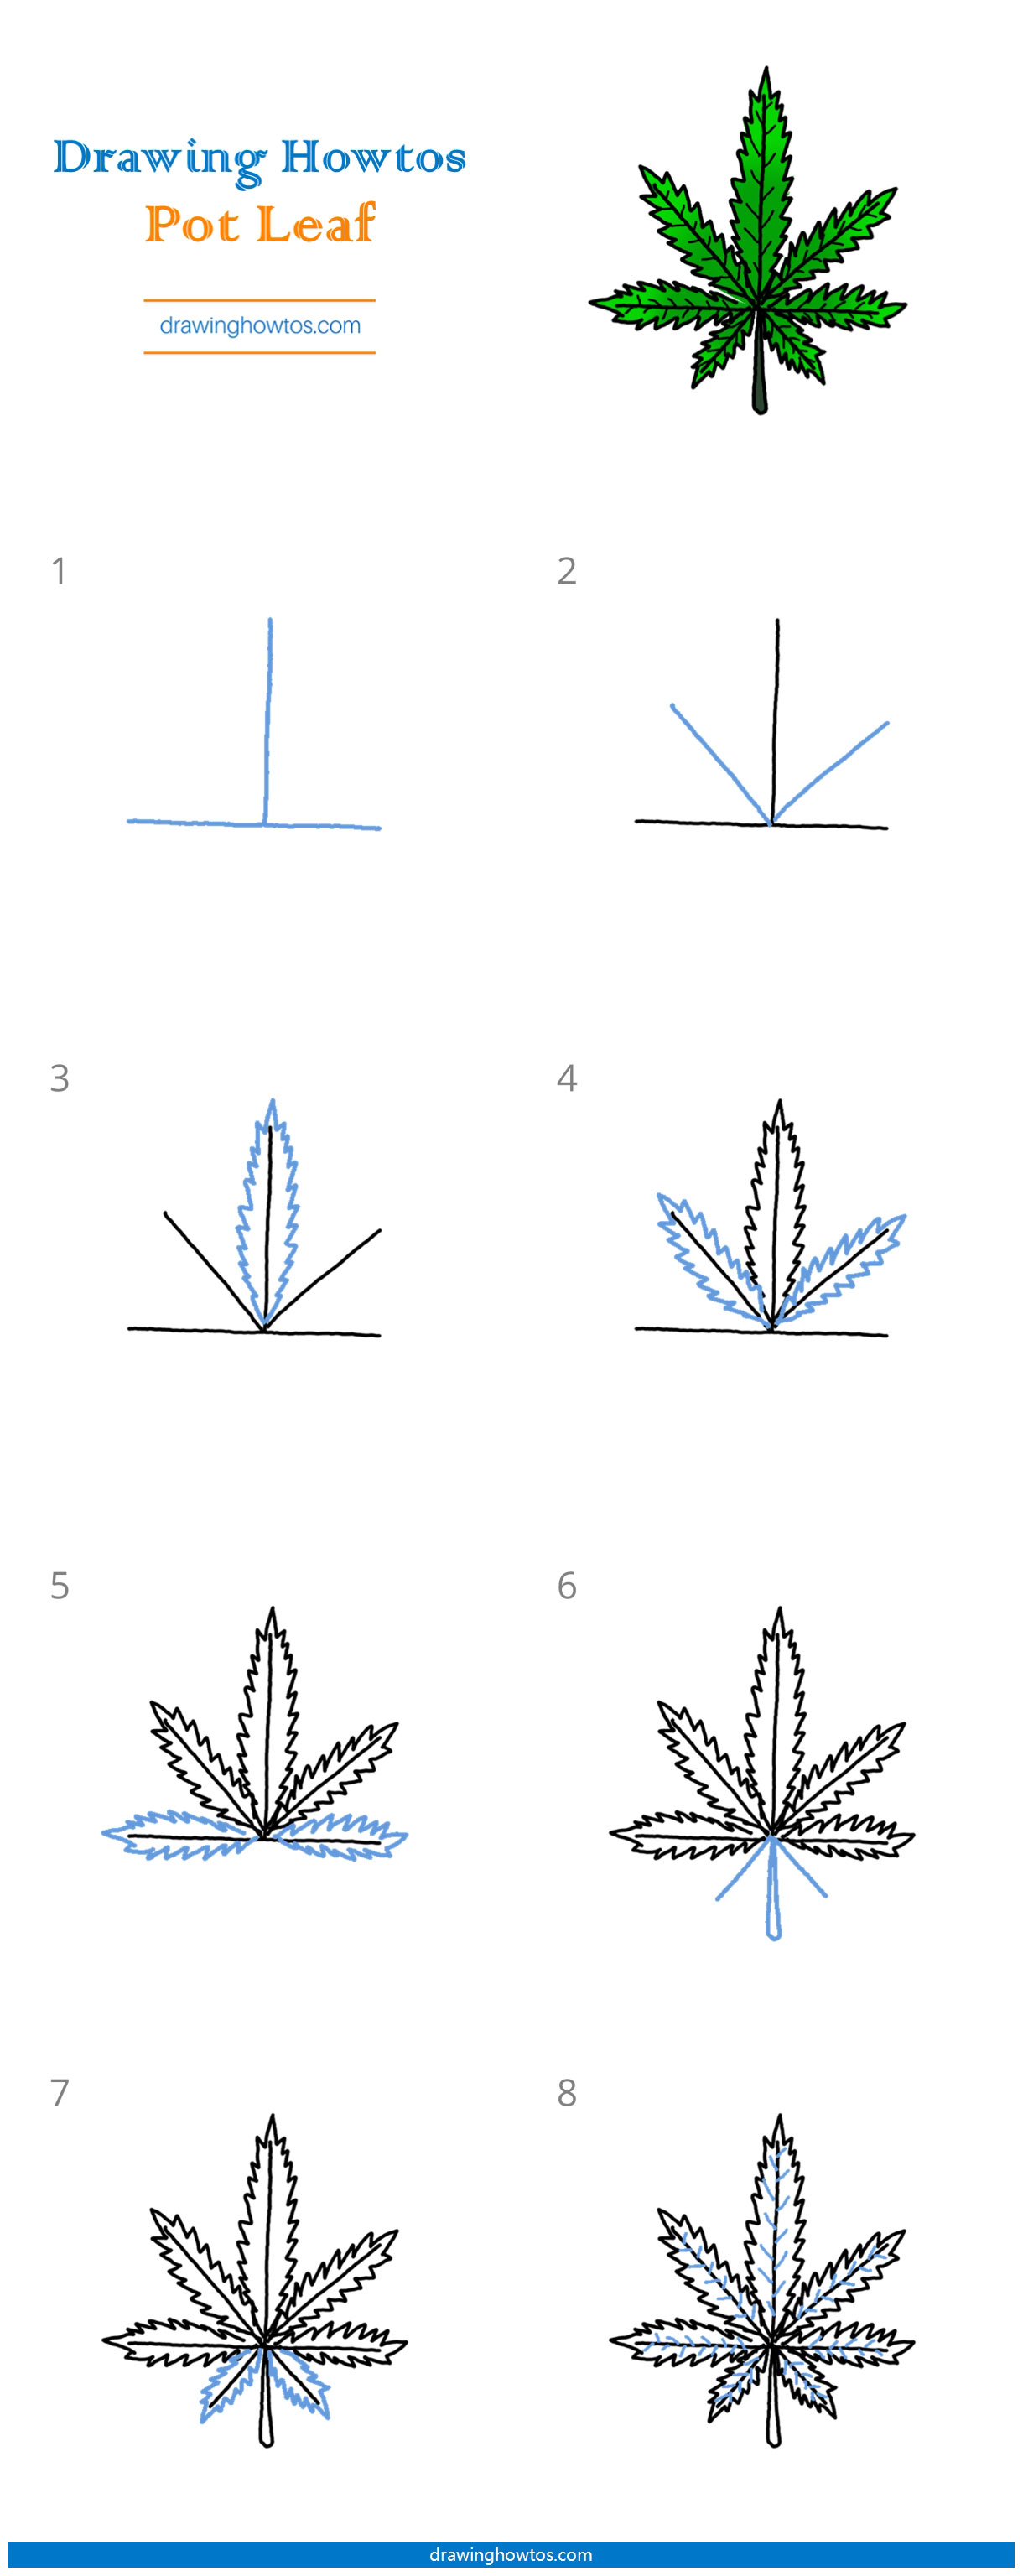
How to draw a pot leaf. Add lines to show the margins of the leaves. Now, place two lines across from each other in the empty spaces on either side of the middle line. Step 2 cut it in half, and then cut the upper half again.
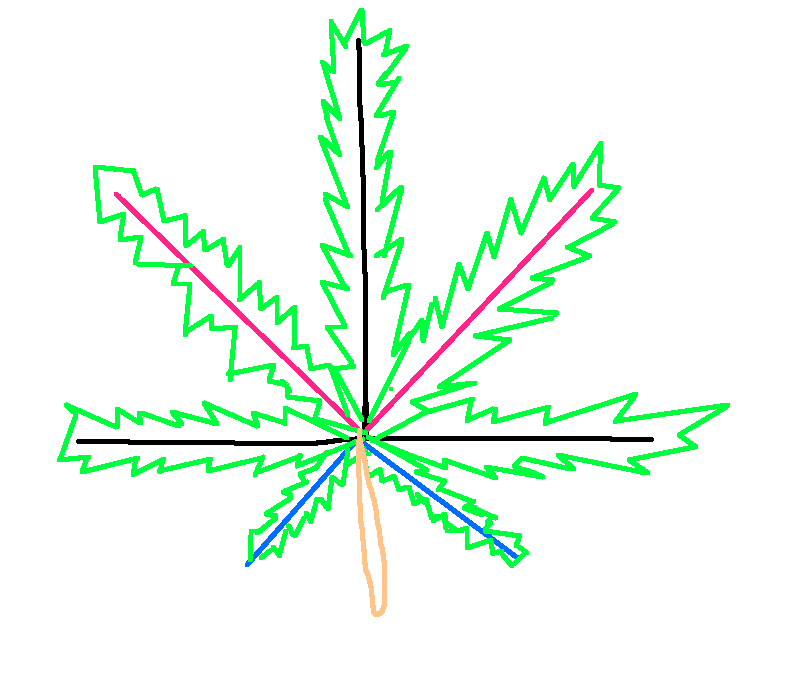
Each new step is represented by a new color, but when it comes to actually drawing your weed leaf, just use one color to outline and plan to fill in the detail later. First, you draw the backbone of your leaf, which in this case is usually a start shaped pattern or line diagram. These basic shapes will form the basis of many harder shapes as you continue drawing.
Step 3 draw a horizontal line across the upper mark. Monika zagrobelna will show you how to draw a pot leaf step by step. Then, draw two lines again starting from the same junction.
The first step is to make a horizontal line across the top half of your mark and connect it to the bottom. To start your pot leaf drawing, you should draw a horizontal line across the top half mark. The lines should look similar to the letter v, only a bit wider, and their height should be about half of the vertical line of the inverted t.
Practice with basic, elemental shapes of pot leaf in the beginning. I used a grid layout to perform the drawing. Draw a vertical line through the center of the leaf.
Next, you should connect the top. Capture the beauty of a marijuana leaf in this simple drawing tutorial. Next, start a line near the far.
Next, draw a line across the original line. To start your pot leaf drawing, you should draw a horizontal line across the top half mark. How to draw a pot leaf step by step step 1 draw a vertical line.
I used pencils, ruler, eraser and a paper to do this. Then, draw a second horizontal line. Learn how to draw a pot leaf from this video.
The first step to drawing a marijuana leaf is to sketch the main stem. Outline the petiole and veins. Mark off the width and height of the picture.
How To Draw A Pot Leaf - Step By Easy Drawing Guides Howtos

Drawing A Pot Leaf
Marijuana Leaf Cartoon Illustrations, Royalty-free Vector Graphics & Clip Art - Istock
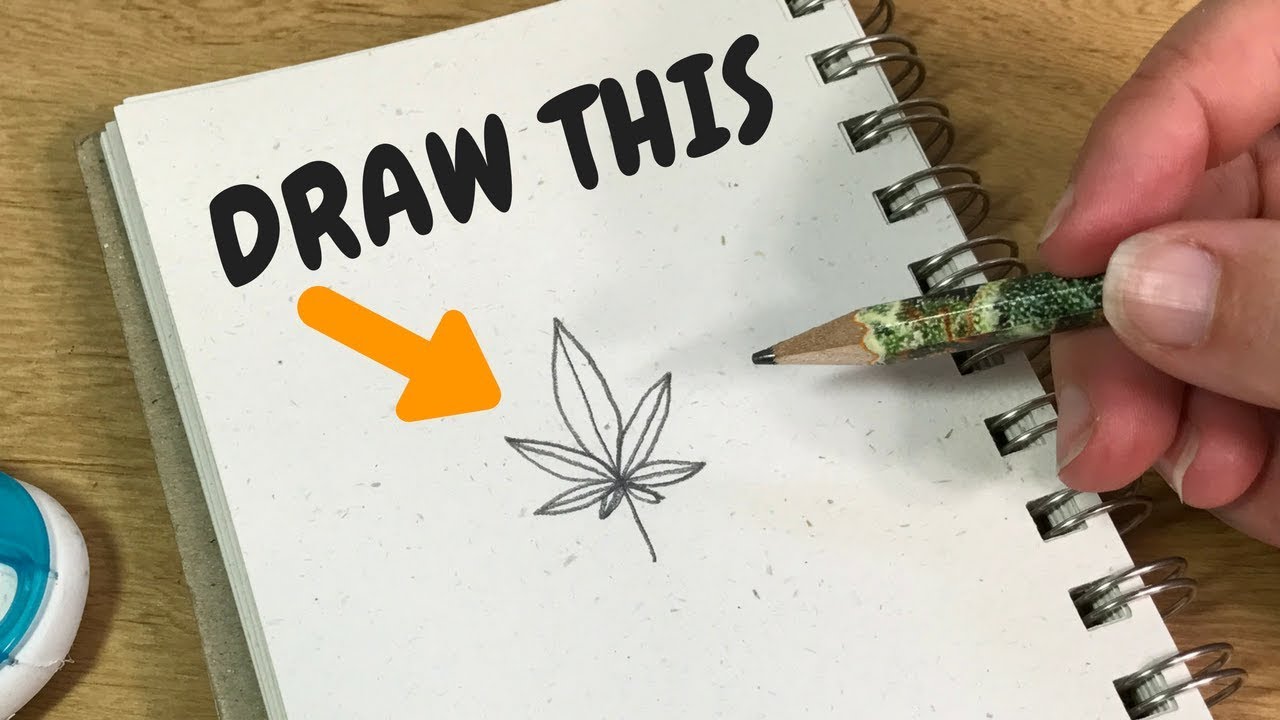
The Easiest Way To Draw A Pot Leaf - Youtube

Weed Plants

How To Draw A Pot Leaf - Step By Easy Drawing Guides Howtos

How To Draw A Pot Leaf | Step By Drawing Tutorials

Green Cannabis Leaf Simple Drawing Vector Illustration Eps10 Stock Image & Art - Alamy

Cannabis Leaf Drawing, Weed, Symmetry, Plant Stem, Desktop Wallpaper Png | Pngwing

How To Draw A Pot Leaf, Step By Step, Drawing Guide, Dawn - Dragoart

Step By Guide On How To Draw A Cannabis Leaf?
Want To Learn How Draw A Weed Plant? | Piece Of Mind Cannabis